Match Your Image Post Your Needs
2024-12-07 05:00:31

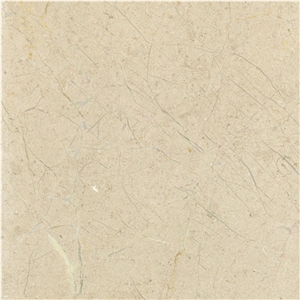
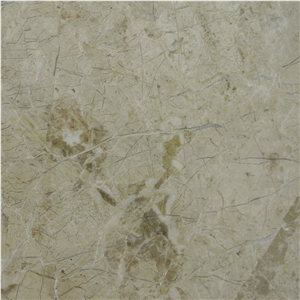
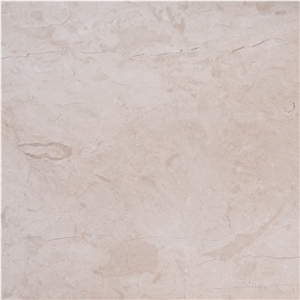
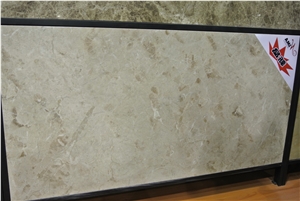
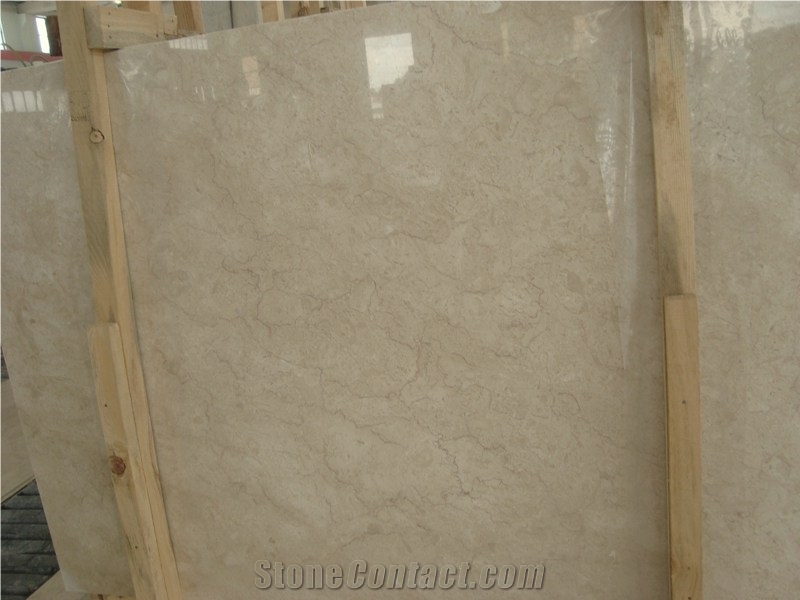
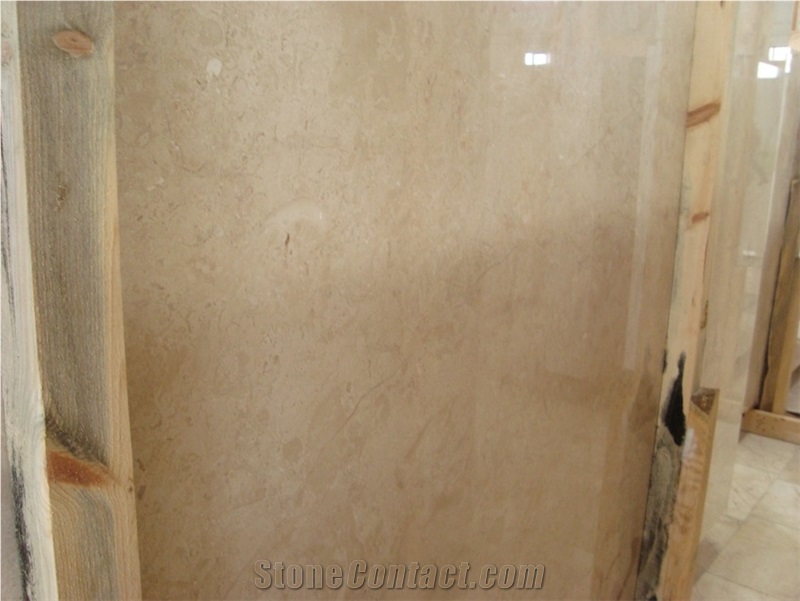
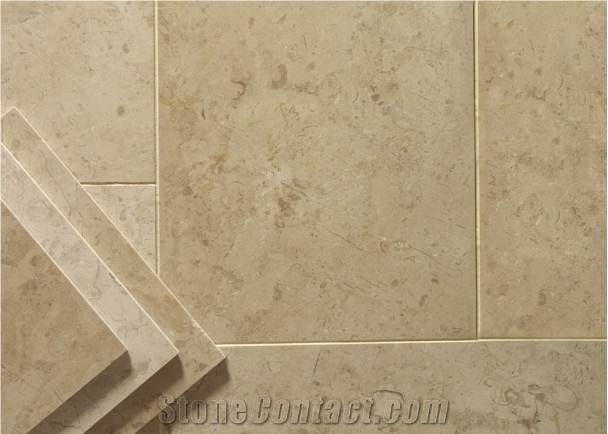
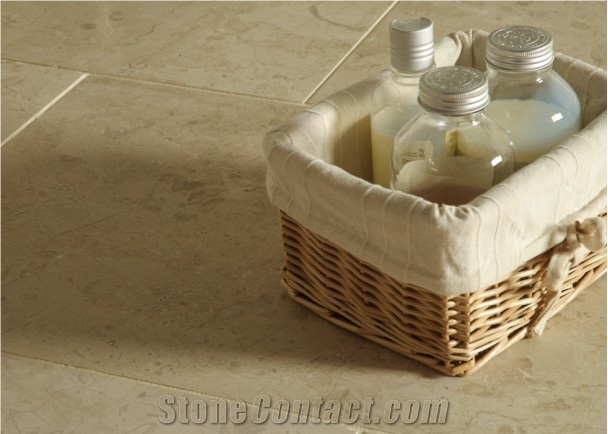
Crema Nova Marble

About FAQ Products & Prices Order Now
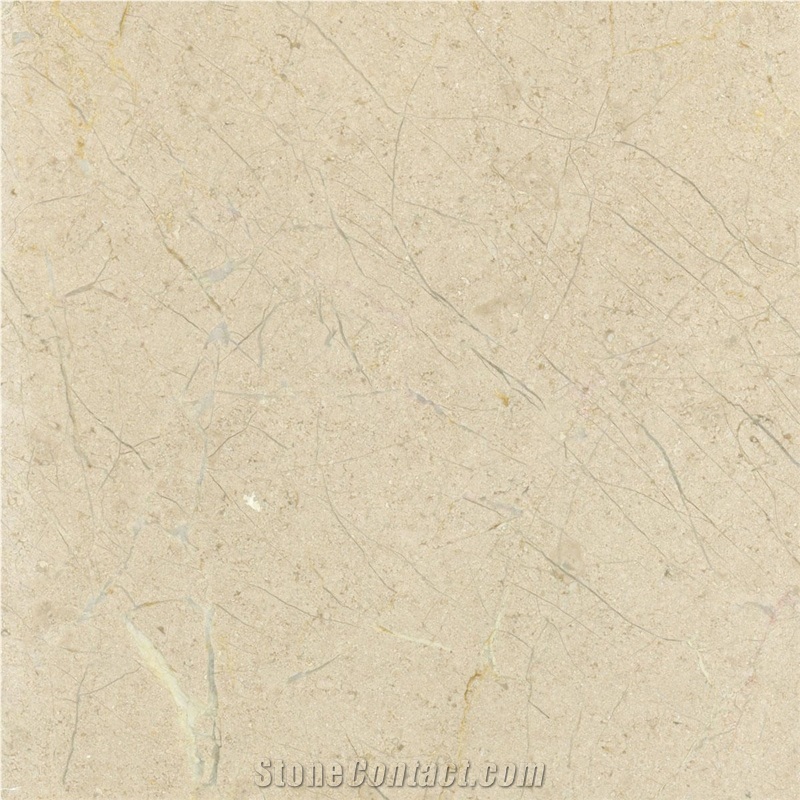
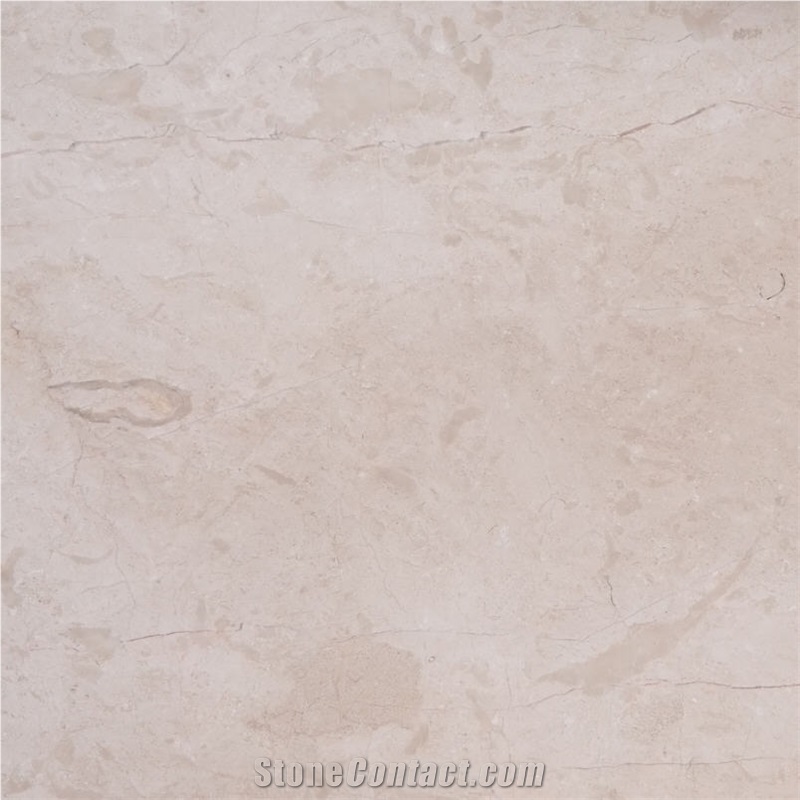
  • Crema Nova Marble
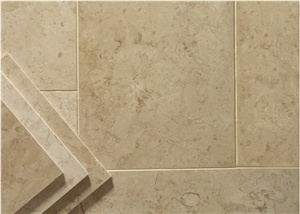
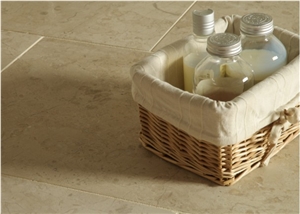
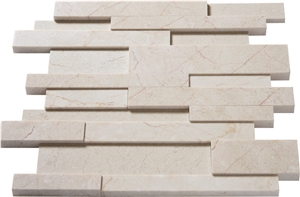
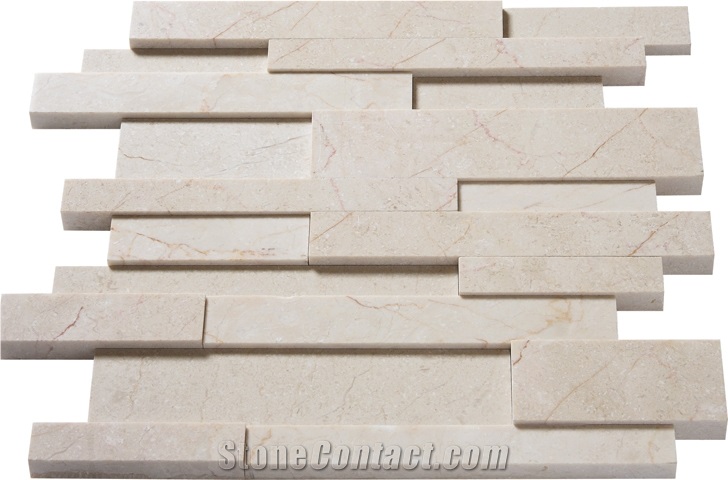
  • Crema Nova Marble Tile
  • Crema Nova Marble Tile
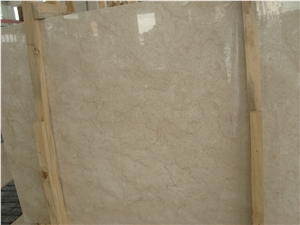
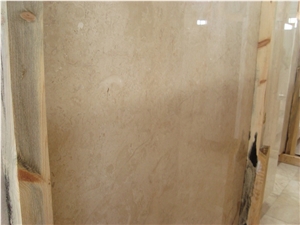
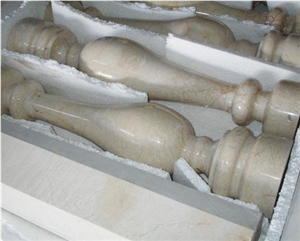
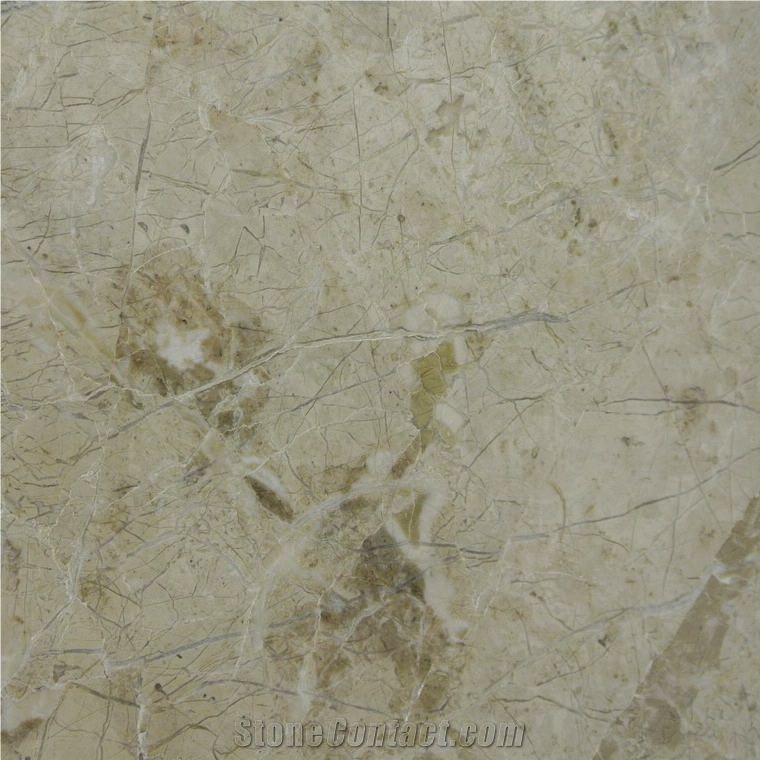
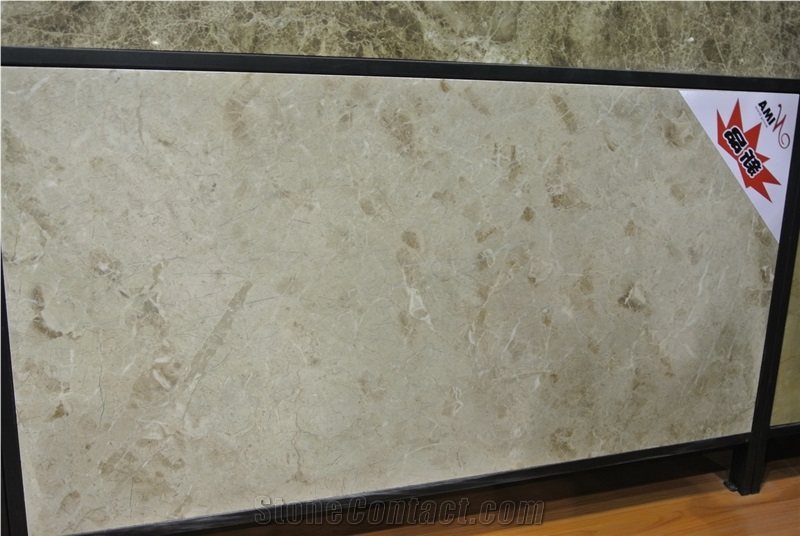
  • Crema Nova Marble Slab
  • Crema Nova Marble Slab
  • Crema Nova Marble Slab
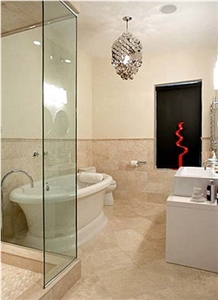
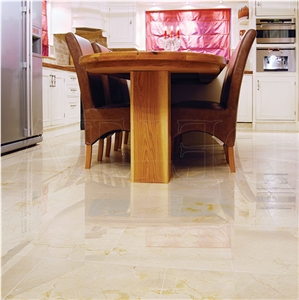
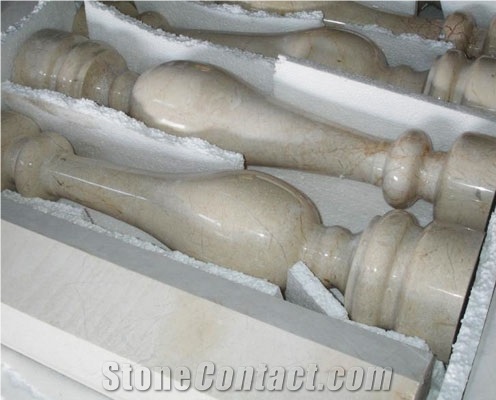
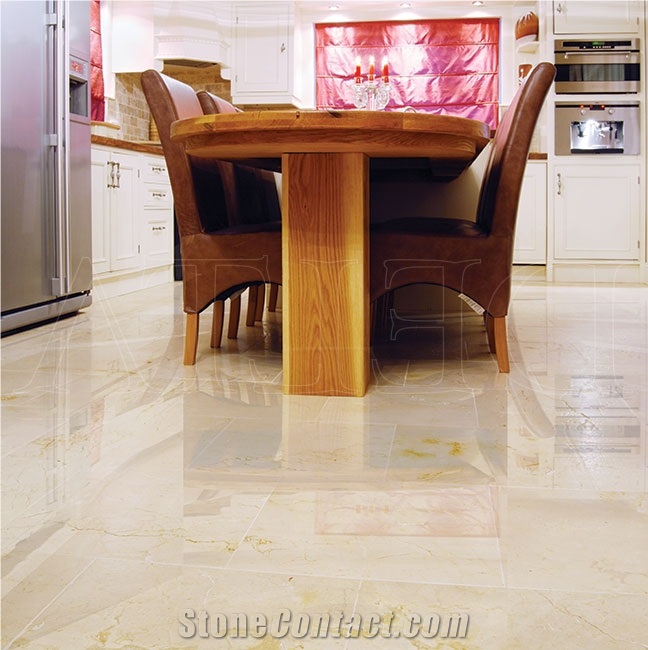
  • Crema Nova Marble Finished Product
  • Crema Nova Marble Finished Product
  • Crema Nova Marble Finished Product
  • Crema Nova Marble Finished Product
  • Crema Nova Marble Finished Product
  • Crema Nova Marble Finished Product
About
Material Type: Marble
Origin:TurkeyTurkey (Bilecik)
Priamry Color(s): Beige
Recommended Usage:Kitchen and bathroom countertops, monuments, building stone, ornamental stone, stairs, interior, exterior wall and floor applications, mosaic, waterjet pattern, balustrades, fireplaces, columns, wall panels
Additional Names:Bilecik Beige Marble,Crema Nuevo Marble,New Cream Marble,Royal Beige,Crema Nuova Marble,Bilecik Crema Nova Marble,In China Stone Market:新帝王(Xīn Dìwáng),诺娃(Nuò Wá)
Finished Surface:Polished,Bush Hammered,Tumbled,Brushed,Honed,Split,Machine Cut,Natural Surface,Sandblasted,Acid Washing,Combed,Leathered,Water Jet,Filled,Chiseled,Pickling
Testing
Water Absorption:% Weight 0.14, % Vol. 0.79
Density:2680 kg/m³
Flexural Strength:30.8 - 31.4 MPa
Compressive Strength:81.0 ~ 101.0 MPa
FAQ Ask a Question
showmore

Can I put Crema Nova Marble in front of a fireplace?

Yes, Crema Nova Marble can be used in front of a fireplace. However, it is important to note that marble is a natural stone and can be susceptible to heat damage. It is recommended to consult with a professional installer or a stone supplier to ensure that the marble is properly sealed and that appropriate precautions are taken to prevent any potential heat-related issues.
show more hide
showmore

How can I make Crema Nova Marble stairs not slippery?

There are a few ways you can make Crema Nova Marble stairs less slippery: 1. Apply an anti-slip treatment: There are several products available on the market specifically designed for marble surfaces. These treatments contain chemicals that alter the surface texture of the marble, providing more traction and reducing slipperiness. Follow the instructions provided by the manufacturer for application and reapplication. 2. Use non-slip stair treads: Non-slip stair treads are adhesive strips or mats that can be applied directly to each step. These treads have a textured surface that creates friction and helps prevent slipping. They come in various sizes and are easy to install and remove if needed. 3. Install handrails: Adding handrails to your marble stairs provides an extra level of safety and stability. Hold onto the handrails while ascending or descending the stairs to maintain balance. 4. Keep the stairs dry: Make sure the stairs are dry at all times as moisture can increase the slipperiness. Use absorbent mats or rugs at the bottom and top of the stairs to prevent water or moisture from being tracked onto the steps. 5. Clean spills immediately: If any liquid spills onto the stairs, clean it up immediately to prevent slipping accidents. Wipe up the spill with a dry cloth or paper towel, then clean the area with a mild marble-friendly cleaner. 6. Take caution with footwear: Avoid wearing shoes with smooth soles on marble stairs, as they can increase the risk of slipping. Opt for shoes with rubber soles or ones specifically designed for slip resistance. Remember to regularly inspect and maintain the stairs to ensure they remain safe and slip-resistant.
show more hide
showmore

Are honed Crema Nova Marble steps slippery when wet?

Honed Crema Nova Marble steps are generally less slippery when wet compared to polished marble. The honed finish provides a slightly textured surface, which can help improve traction and reduce slipperiness. However, it is important to note that all marble surfaces can still become slippery when wet, especially if the water is not promptly wiped away. It is recommended to use caution and apply non-slip treatments or mats in areas prone to wetness to further enhance safety.
show more hide
showmore

Can Crema Nova Marble have a sandblasted surface finish?

Yes, Crema Nova Marble can have a sandblasted surface finish. Sandblasting is a technique that involves propelling small particles of abrasive material at high speeds to roughen or texture the surface of the marble. This process can create a more slip-resistant and textured finish compared to a polished or honed finish. However, it is important to note that sandblasting may require additional maintenance and can potentially alter the appearance of the marble.
show more hide
showmore

How can I drill a hole in place for the faucet outlet in the Crema Nova Marble countertop?

Drilling a hole in place for the faucet outlet in a Crema Nova Marble countertop requires careful planning and the right tools. Here is a step-by-step guide to help you: 1. Safety first: Put on safety glasses and gloves to protect yourself during the process. 2. Measure and mark: Measure and mark the exact location where you want to place the faucet outlet on the countertop. Use a pencil or masking tape to mark the spot clearly. 3. Choose the right drill bit: Select a diamond-tipped or carbide drill bit specifically designed for drilling through marble or stone surfaces. The size of the drill bit should match the diameter of your faucet outlet. 4. Prep the area: Make sure the countertop is clean and clear of any objects that might obstruct the drilling process. Lay a piece of scrap wood or plywood underneath the marked area to prevent chipping or cracking. 5. Start drilling: Attach the appropriate drill bit to your power drill. Begin drilling slowly and steadily at a low speed to avoid heat buildup. Apply gentle pressure while keeping the drill perpendicular to the countertop surface. Use a continuous spraying of water or a constant flow of water to cool down the drill bit and prevent damage to the marble. 6. Go slow and steady: Gradually increase the drill speed as you continue to drill deeper. Take short breaks to let the drill bit cool down if necessary. Slow and steady progress is crucial to prevent overheating and cracking the marble. 7. Monitor the progress: Periodically stop drilling to check the depth and ensure you are on track. Its better to go too slowly and double-check rather than rushing and making an irreversible mistake. 8. Complete the hole: Once you reach the desired depth and drill through the countertop, slow down the drilling speed to prevent any chipping around the hole edges. 9. Smooth the edges: Use sandpaper or a diamond file to smooth out any rough edges around the drilled hole. This will provide a clean finish for the faucet installation. Remember, marble is a delicate material, so its crucial to handle it with care. If youre not comfortable performing the task yourself, its recommended to hire a professional stone fabricator or installer to ensure the job is done correctly and without any potential damage to your countertop.
show more hide
showmore

How to clean smoke stains on a Crema Nova Marble fireplace?

To clean smoke stains on a Crema Nova Marble fireplace, follow these steps: 1. Start by preparing the cleaning solution. Mix a small amount of mild dish soap or marble cleaner with warm water in a bucket. Avoid using acidic or abrasive cleaners as they can damage the marble. 2. Dip a soft cloth or sponge into the cleaning solution and wring out any excess liquid. 3. Gently wipe the smoke stains on the marble surface using the damp cloth or sponge. Apply light pressure and make small circular motions to lift the stains. 4. If the smoke stains are stubborn or leave residue, create a paste by mixing baking soda and water. Apply the paste to the stained areas and let it sit for a few minutes to allow the baking soda to absorb the stains. 5. Use a soft toothbrush or nylon brush to gently scrub the stained areas with the baking soda paste. Be cautious not to scratch or damage the marble surface. 6. Rinse the marble fireplace with clean water using a separate cloth or sponge. Make sure to remove any traces of cleaning solutions or baking soda. 7. Dry the marble thoroughly with a clean towel to prevent water spots or streaks from forming. 8. If the smoke stains persist, you may need to consult a professional marble cleaner or stone restoration specialist for further assistance. Remember to always test any cleaning solution or method on a small, inconspicuous area of the marble before applying it to the entire surface to ensure it doesnt cause any damage or discoloration.
show more hide
showmore

What grade is Turkey's Crema Nova Marble?

Turkeys Crema Nova Marble is typically classified as a premium-grade marble.
show more hide
showmore

Is the Crema Nova Marble commonly used as a gravestone?

Crema Nova Marble can be used as a material for gravestones, but its use may not be as common as other types of stone such as granite or marble with darker colors like black, gray, or red. The choice of gravestone material often depends on personal preferences, cultural traditions, and local availability. Its always best to consult with a local monument or gravestone provider for more information about specific materials commonly used in your area.
show more hide
showmore

Are there color variations of Turkey's Crema Nova Marble?

Yes, there can be slight variations in color of Turkeys Crema Nova Marble. It typically has a creamy beige or light tan background with varying degrees of veining ranging from light to dark brown. The exact color and pattern can vary depending on the specific block of marble and the quarry it was sourced from.
show more hide
showmore

What are the sizes of Crema Nova Marble Versailles pattern?

The sizes of Crema Nova Marble Versailles pattern tiles vary depending on the manufacturer or supplier. However, typically, the sizes for each tile included in the Versailles pattern are as follows: - 1 square tile: 16 inches x 16 inches - 2 rectangular tiles: 16 inches x 24 inches - 2 rectangular tiles: 8 inches x 16 inches These tiles are then laid out in a specific pattern, creating a Versailles pattern with a unique and elegant visual display.
show more hide
show all
Customer reviews
Customerimg sto**** Reviewed in United Arab Emirates on Aug 11,2023

plz you can tell me about the 2cm Granite Calculation of LOD

Product & Prices
More
Post Your Request
*From:
*Request:

The request includes: 1. surface finished, size 2. quantity required

Send

Question:
*Your rating?
*Content:
Attach files Attach files icon-tip
Please upload photos.drawings or specification docs for suppliers to better understand your requests.Maximum 3 Files.and each file 5M max.--Format support:PNG,JPG,JPEG,GIF,BMP,SVG,xls,xlsx,doc,docx, pdf.
*Name:
*Email:
*Country:
bigimg
loading
Tips

Tell Suppliers what you want to buy

Tips

Submitted successfully, thank you!